How to rent, use, and return Docomo Bike Share in Tokyo and Osaka Japan for a memorable experience.
Introduction
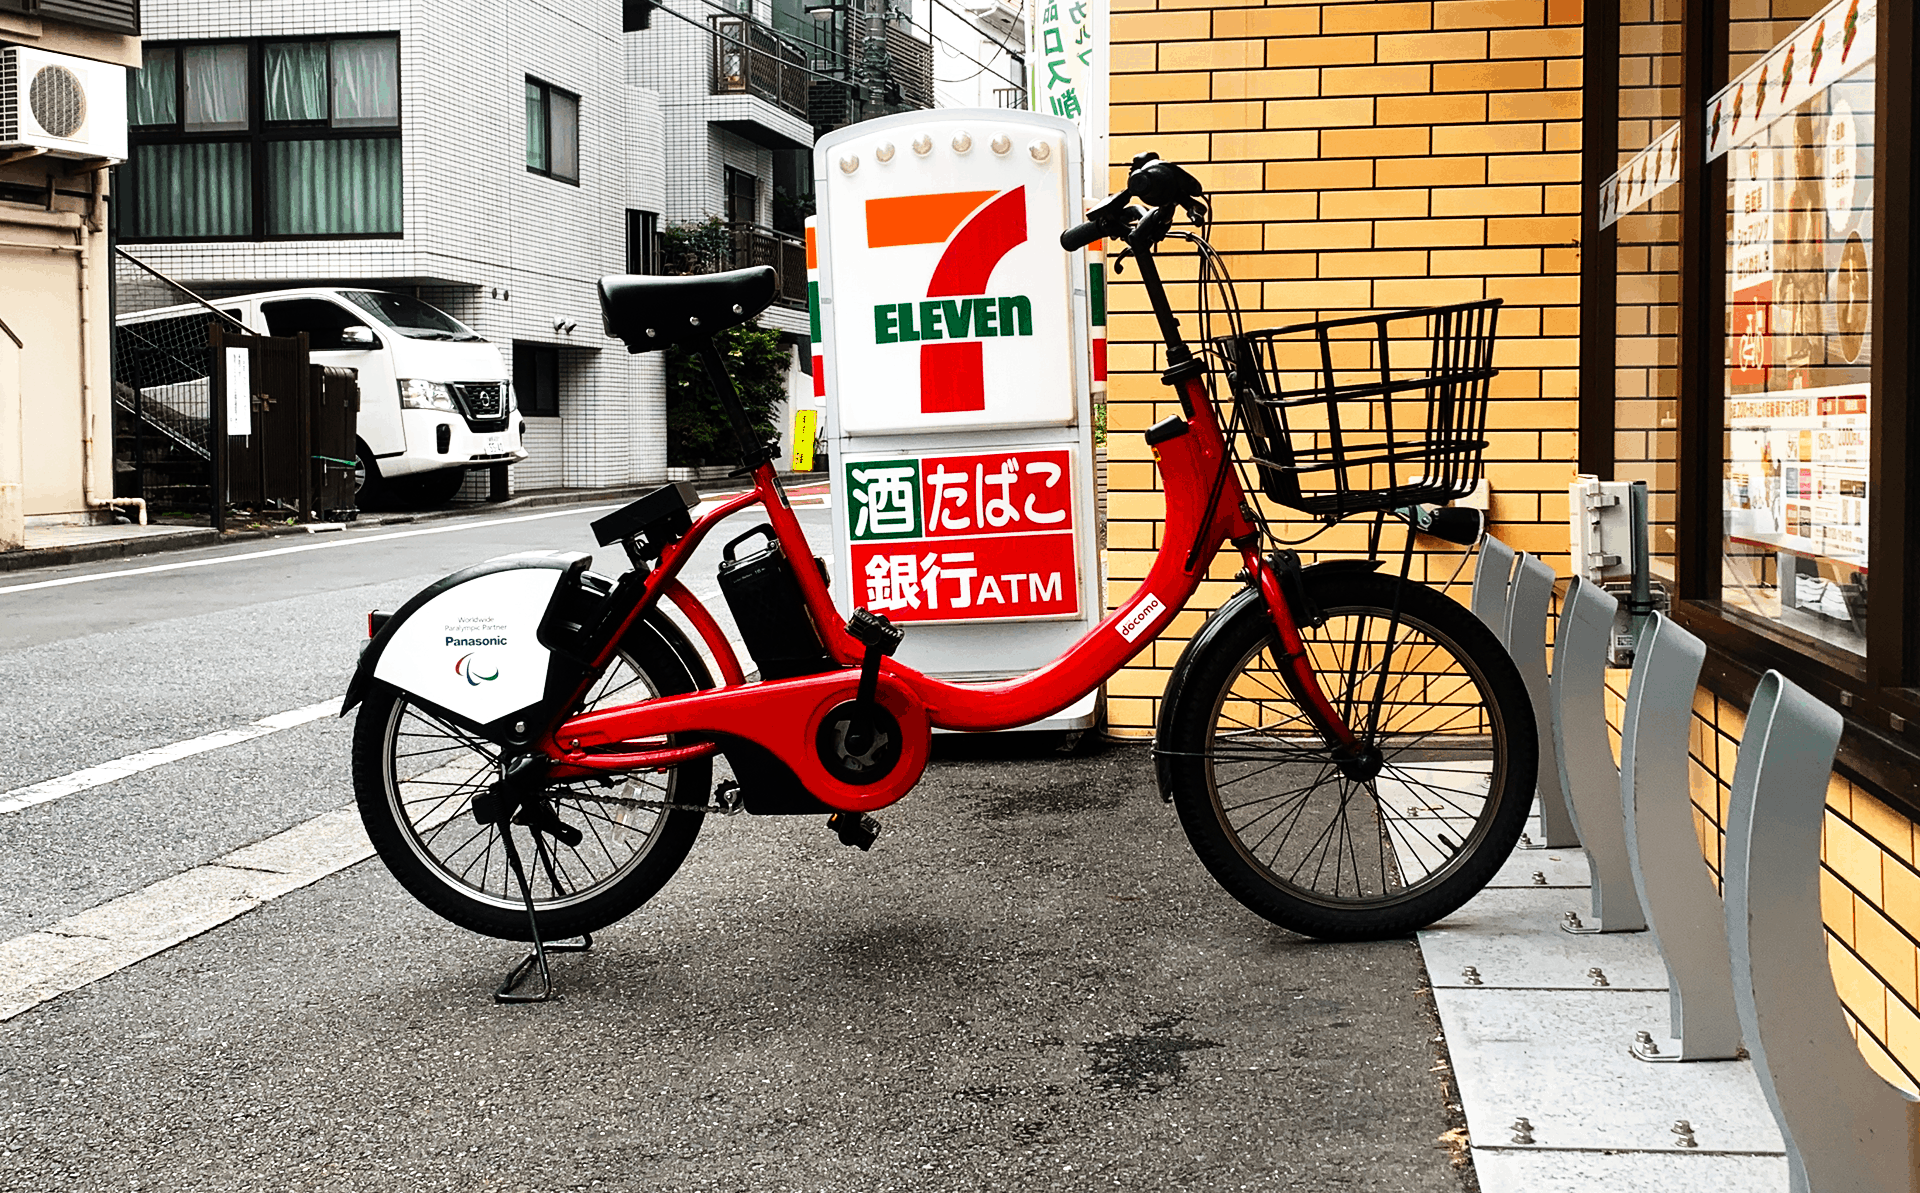
This will guide you through the steps on how to rent, use, and return the red Docomo Bike Share in Tokyo and Osaka Japan. This step by step tutorial will help anyone curious about how the Docomo Bike Share program works. Whether you are a local or a tourist the Docomo Bikes are easy to rent, use, and return once you understand the steps. Docomo Bike share is currently available in 33 locations throughout Japan and the same steps in this guide will apply to any of the rental locations.
If you are traveling to one of the major cities in Japan like Tokyo, Osaka, Nara, or Kobe you may notice these red e-bike stations sprinkled around town. These are a bike share program by the Docomo company and they are also available in other areas throughout Japan. For a complete list of which areas the Docomo Bike Share program service click here to visit their website.
Japan is a very bike-friendly country and you will see people riding bikes everywhere, it is just part of their culture. So what better way to explore and get a little exercise than on a bike. But don’t worry these bikes are electric motor-assisted so powering up hills is a breeze.
Would you rather watch my three part series of how to videos I posted on Youtube check the video carousel below.
As an Amazon Associate I earn from qualifying purchases. In addition to Amazon we are affiliates of other companies. See Affiliate Disclosure for more information.
Things you will need in order to use the Docomo Bike Share
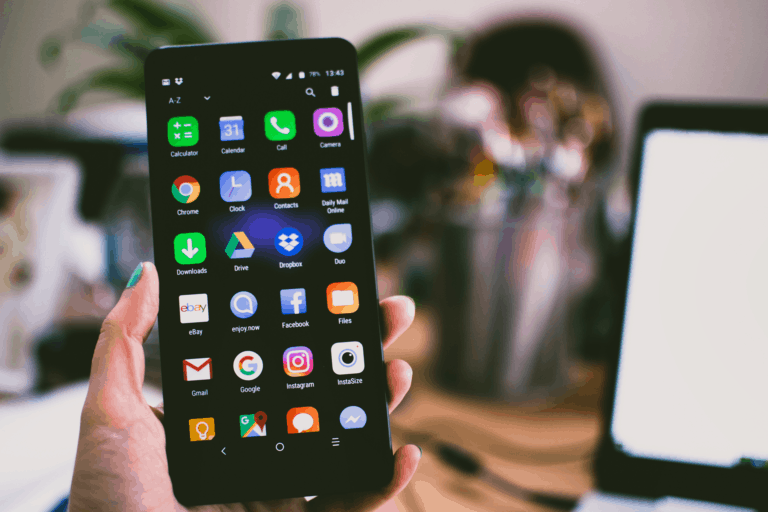
To access the Docomo Bike Share, you will need a smartphone that works in Japan,a data plan and a credit card. As a foreigner or tourist, I would highly recommend the first option (mobile smartphone with a data plan) connecting an IC Card like the Suica or Pasmo are optional.
Required
Required
Optional
Optional
Unlocked Mobile Smartphone that will work in Japan.
Good news is if you purchased an iPhone, Pixel, or Galaxy phone recently chances are they are Unlocked and should work in Japan, but check with your provider.
Bonus Tip! If you have a cell phone that excepts eSims check out Airalo. They make installing an eSim very easy with their app. This way you can pre-buy a Japanese eSim an have service as soon as you land.
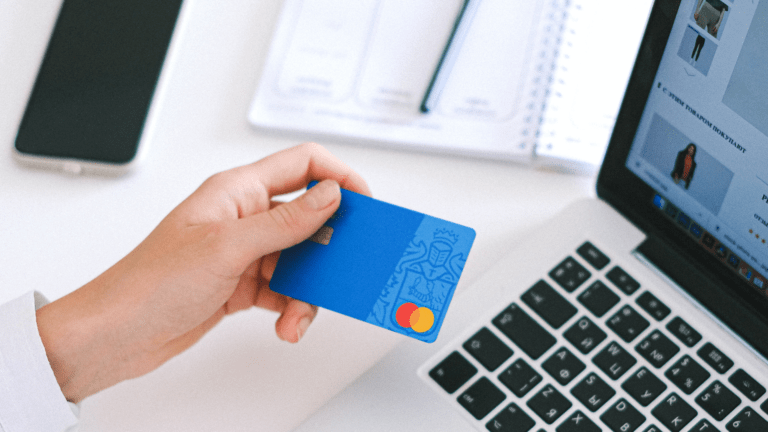
Credit Card: You will need a credit card to pay for a day pass or a month pass.
Visa, Mastercard, American Express, Dinersclub, JCB, and dCard are currently accepted.
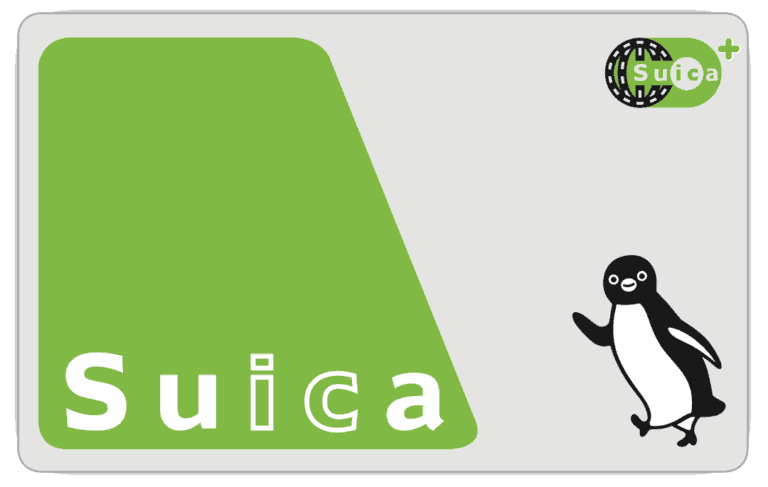
Suica Card : A brand of IC Card issued by JR Rail. An IC Card is like a prepaid credit card you can add money to and easily pay for transit, and at most convenience stores and some restaurants by tapping an IC Card reader.
IC Cards are optional and not required to sign up
if you are trying to decide which is better Pasmo or Suica, I can tell you they are nearly identical just different brands.mattis
Mobile Smart Phone with a data plan (Recommended option for Tourist)
Unless you are already familiar with Japan, can speak Japanese, and know your way around town, then I highly recommend having a mobile smartphone with a data plan. Getting around Japan as a tourist is easier with the help of Google Maps and Google Translate.
Not to mention you will need the internet to find the bike stations and unlock the Docomo Bikes. You can technically unlock the bikes with an IC Card but you will still need some sort of internet connection to register your IC Card to use with the Docomo Bike Share Program (I’ll cover this in the later section)
Bonus Tip! If you have a cell phone that excepts eSims check out Airalo. They make installing an eSim very easy with their app. This way you can pre-buy a Japanese eSim an have service as soon as you land.
I do NOT recommend using your current mobile phone service unless you already have an International plan that covers International data roaming in Japan. You may already have a global plan that offers free data roaming internationally like these plans offered by T-Mobile and Google Fi. Please check the fine print though to see what is and is NOT covered.
If you do not have an International plan that covers data roaming charges in Japan, it may be cheaper to buy a Pre-Paid Sim card.
Using a Pre-Paid Sim Card in Japan
- First, you will have to determine if your mobile phone is unlocked. If you bought your phone within the last couple of years chances are your mobile phone is unlocked. In my case, I have an iPhone XS from Verizon and it came unlocked. Here’s a good article to find out if your mobile phone is unlocked if you are unsure. The easiest way to find out is by calling your service provider and they can walk you through the process.
- Second, you have to determine if your mobile phone will work in Japan. The good news is the most recent phones should work in Japan no matter what country they were purchased in. Japan uses a global cell phone technology called CDMA. Without getting into to much detail, most phones now of days are capable of working on Japan’s CDMA networks. Older phones with GSM only will not be able to connect in Japan. If you have a recent iPhone you are more than likely able to use your phone in Japan. For more in-depth info read this article.
Where to find a Pre-Paid Sim Card with a Data Plan without signing a long term agreement
- The easiest and most convenient option would be to pre-order a 4G data sim card online from Klook and pick it up when you land at Narita, Haneda, or Osaka airports. But please read all terms before purchasing as they may have limited pickup times.
- Another option is to pick up a prepaid data sim card like the Softbank 4G LTE Data Sim Cards at Yodobashi Camera Stores or the ILJmio Japan Travel Sim card at Bic Camera Stores. Both stores have multiple locations throughout Japan.
- Cost: $23 USD (2460 JPY) 1GB/30day Data Only Prepaid SIM (Cost are approximations and may change)
- Cost: $35 USD (3790 JPY) 2GB/90day Data Only Prepaid SIM (Cost are approximations and may change)
eSim
- If you have a relatively recent iPhone (iPhone XR or newer) you can use an app like Airalo. Airalo app allows you to add an eSim to your cellphone. If you have an Anroid just Google search “Is my (insert phone model) have esim to find out if your phone has the capability.
- What’s an eSim? It is basically a virtual simcard slot.
- Advantages of an eSim: With Airalo you can pre-purchase international plans for 200+ countries and install the plan virtually into your eSim slot.
- This allows you the freedom of keeping your current physical sim card in and adding an additionally eSim (Virtually)
- This will save you time searching around the airport for a local sim card.
Renting a pocket wifi in Japan
If you have determined your smartphone will NOT work in Japan, the alternative option would be to rent a Pocket Wifi assuming your phone has the ability to connect to a Wifi hotspot. This option is less ideal because it will be yet another device to keep track of.
Some hotels and Airbnbs will included a pocket wifi free of charge, so check with them first. If not, here are three options online you can rent a pocket wifi router from.

Docomo Bike Share Cost and Usage Times
There are three options with the Docomo Bike Share Program and note that not all options are necessarily available in every region where Docomo Bike Share is available. If you are in Tokyo or Osaka all three options should be available but please refer to the Docomo Bike Share Website.
- *One Trip – Cost $1.39 USD or 150 JPY (This price may vary slightly based on region and valid for 24hrs at time of purchase)
- *Day Pass – Cost $9.74-15.34 USD or 1047-1650 JPY (Price is depending on region and valid for 24hrs at the time of purchase)
- *Monthly Pass – Cost $18.95 USD or 2000 JPY (If you plan on riding the Docomo Bikes more than one day this is the best option)
- If you plan on using a monthly pass in more than one city read first
Each time you rent a Docomo Bike you are allowed 30 mins per ride before having to return the bike to a station. If you keep riding the bike pass the 30 min time allowed you will be charged 100 JPY per additional 30mins until the bike is returned to a station.
Finding stations are usually very easy, so the way I go about it is to just return the bike to a designated Docomo Bike Station within 30 minutes and then unlock another bike. You can even return the bike to a station and then recheck out the same bike. This will require you to get a new 4-Digit code after each completed return. More on how to return the bikes in a later section, or you can fast forward to that section by clicking here.
*Please see specifics on rates and time usages on the Docomo Bike Share Website, as certain plans may not be available in all regions where Docomo Bike Share operates.
How To Sign up to Use the Docomo Bike Share Program
Once you have made sure you can use your phone in Japan, the next step is going to the Docomo Bike Share website on your mobile smartphone or computer to register. Here is the website, or you can google search Docomo Bike Share and it will easily find the website.
- If the website shows Japanese Language characters you can easily change the language to English by clicking the pull-down menu on the top right. The pull-down will look like the lines on top of each other.
- Click the Register/Login Button to Register
- Select the region you are in. (Don’t worry if you are in Tokyo one day and Osaka the next day you don’t have to re-register)
- Read thru Terms and complete the Registration by Accepting Terms
- Check out the slides below for visual instructions on how to register through website
VERY IMPORTANT NOTICE
If you are planning on using the Docomo Bike Share program monthly service in more than one city you must cancel your membership, then re-register a new account in the next city you plan on using the Docomo Bikes. You can technically log into the Docomo Bike Share program in different cities throughout Japan, but you will also get charged a fee each time you check out a bike. The fee is around 165 Yen, which can really add up. I made the mistake of registering in Osaka and then going to Tokyo while using the same login from Osaka, I ended up racking up over $120 USD in fees over the span of two months before I noticed the charges. It is my own fault and I own up to it, hopefully you can learn from my mistakes.
Using the Docomo Website to find Docomo Bike Stations
Docomo Bike Share states they have an Android and iOS App on their website, but I have a feeling it only works on mobile smartphones purchased in Japan. When trying to download the app from my US purchased iPhone XS it stated the app was not available in my region. I even tried using a VPN on my phone and selecting a Japan server with no luck. So for the sake of this tutorial I will just show you how to find the Docomo Bike share locations via the website on your mobile smartphone.
- Google Search Docomo Bike Share on your mobile smartphone to go to the main website
- Click the top right pulldown menu (three dashes on top of each other) to change the language to English if needed
- Now scroll down to the bottom to select the region you are in. I will select Shinjuku for this tutorial
- This will then open up a new web browser window for the Shinjuku Docomo Bikeshare Website.
- You can change the language to English if needed in the top menu button labeled Language.
- This will then open up yet another web browser window for the English version of the Shinjuku Docomo Bike Share Website
- Scroll to the bottom and click on the section that says Station Map
- You can now see all the station locations, I usually click the button that says Open in Google Maps to find the closest station
- For a walk-thru video see below.
Try changing your region on your iphone
There is actually a way to change the region on your iphone that will allow you to download country specific iphone apps. I didn't even think of trying this until after I left Japan. Just type in "How to change your region on iphone" in Youtube and you will find plenty of tutorials. One thing to note is that the Docomo App is not rated very well on the App store, and some people even say it is hard to use. This could be due to a language barrier.
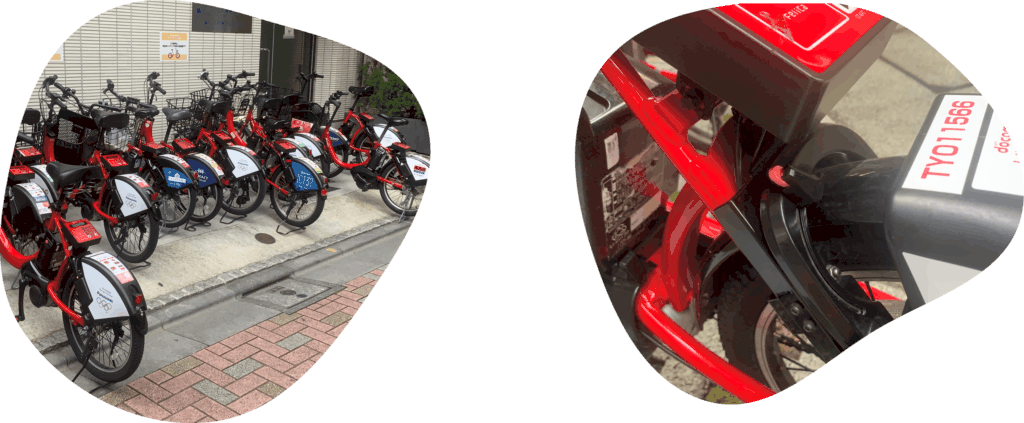
Unlocking a Docomo Bike from the Station
Each Docomo Bike is locked via a wheel lock, and you will have the following two options to unlock the bike.
- Unlock the Docomo Bike with a unique 4-Digit Code. To obtain this code log in to the Docomo Bike Share Website > Select Log In> Select Region> Enter Username and Password > Choose your port or Enter in Bike Number. The easier option is to enter the bike number. The bike number is usually found on or near the keypad on the rear wheel.
- After finding the bike in on the Docomo Bike Share website and selecting it you will be given a 4 Digit Code. This code will also be emailed to you at the email address you used to register. I usually just take a screenshot of my phone so I don’t forget it.
- Now Press the Start Button on the Keypad and enter the 4-Digit Code to unlock the bike. This usually only takes a couple of seconds and you will hear the bike unlocking.
- Now on the kickstand, you will usually see a metal tab poking out. This is the kickstand lock and must be pressed in with your foot to release the kickstand. After pressing in the metal tab on the kickstand you can either push the bike forward to flip the kickstand up, or you can lift the back of the bike up by the seat and using your foot swing the kickstand toward the back of the back to close the kickstand. See illustrated images below for more info.
Using an IC Card like a Suica Card or Pasmo Card to Unlock a Docomo Bike
The alternative way to unlock a Docomo Bike is to use an IC Card like Suica Card or Pasmo Card. An IC Card is basically a prepaid transportation card that you can use to unlock the bike by tapping the IC Card onto the sensor on the keypad of the Docomo Bike. This can be very handy and convenient because IC Cards can be used to board the trains, purchase items at most convenience stores, vending machines, and even some restaurant chains.

There are many IC Card brands in Japan but the most widely used ones are the Suica Card and the Pasmo Card, both of which can be found at most train/subway stations. If you’re looking for a descriptive video on how to get an IC Card click here.
To use this option with the Docomo Bike Share Program you will need to register your Suica or Pasmo card. If you do not plan on getting either a Suica Card or a Pasmo Card you can skip this section.
Registering your Suica or Pasmo Card via Docomo Online Account
- Log into your Docomo Account Online
- Scroll Down to Membership Information Section and click on Correct
- Scroll Down to Membership Card Registration pulldown menu and select Membership Card Registration
- Press Submit and an 8-Digit Code should pop up. (This code will also be emailed to you)
- Copy down the 8-Digit Code or take a screenshot, you will need this to physically link your Suica or Pasmo Card at any available Docomo Bike via the keypad
- Goto to any available Docobo Bike and press Start on the keypad, then press Enter, now enter in your 8-Digit Code to pair your IC Card
- Now place your IC Card on the sensor that says Felica, the LCD display should now say Registration Is Completed
- Now anytime you want to use a Docomo Bike, all you have to do is press Start and tap your IC Card and the bike will unlock.
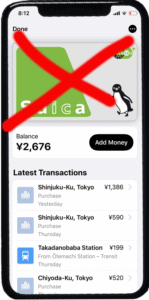
Special Note: There is now an option in Apple Pay to create a new Virtual Suica Card, This allows you to pay for things with you iPhone via your Virtual Suica Card. However even though I was able to register my Apple Pay Virtual Suica Card with Docomo Bike Share, it did not actually let me unlock any Docomo Bikes with my Apple Pay Virtual Suica Card. I tried multiple times with no luck. Check out my quick tutorial on Youtube.
Riding the Docomo Bikes
Riding the Docomo bikes are very easy and straightforward. You have all the basic functions of an E-Bike. Front and rear brakes, a basket for stuff, a bell, 3 gears, and a power control for the electric assisted motor.
Returning the Docomo Bike to the Station
Returning the Docomo Bike is easy once you know how to do it. Here are the steps listed below after you have found a station to return the bike to.
- Place the bike in the bike rack, if all bike racks are full it is okay to just leave the bike in the same area making sure not to obstruct and pathways or door.
- Prop up the kickstand
- Look for the lever on the rear tire under the keypad as shown in the reference photo.
- Push in the bike wheel locking lever to lock the bike, make sure you hear it click.
- On the Keypad Push the Enter button.
- You will then see on the keypad it says Return on the LCD display
- Push the Enter Key again to complete the return process.
- To make sure you completed the return push the Start button on the keypad, and if it says enter code then you did it correctly.
Keeping the Docomo Bike to Reuse
There are some cases you will want to keep the bike but lock it up so no one else can take it. For instance you might want to use a Docomo Bike to ride to the grocery store, and once you are finished at the grocery store you will be able to reuse the same Docomo Bike. To keep a Docomo Bike for reuse follow these steps.
- After parking your bike and pushing the kickstand up
- Push in the wheel lock level and make sure it clicks
- Now when you are ready to reuse the bike just push the Start button and re-enter the 4-Digit Code that was given to you when initially checking out the bike. This code is emailed to you every time you check out a bike, but I usually screenshot the code for easier access.
Conclusion
Riding a bike in Japan is quite pleasurable in my opinion, and using the Docomo Bike Share is not only convenient it’s a great way to see the city. Just remember to stay on the Left is common and be safe and mindful of pedestrians. While Docomo Bike Stations are found everywhere in Tokyo and Osaka, they may be less abundant in some of the less dense regions, so keep that in mind.
Tips: Always check the tires to make sure there are no flats, and also check to make sure the battery has enough juice in it or else the electric assist will not work.
Table of Contents